Elmo QBiC S X1 Instruction Manual
Browse online or download Instruction Manual for Bridge cameras Elmo QBiC S X1. Elmo QBiC S X1 Instruction manual User Manual
- Page / 32
- Table of contents
- BOOKMARKS
- QBiC S X1 / D1 1
- TABLE OF CONTENTS 2
- THE NAME OF EACH PART 5
- PREPARATIONS 6
- STARTING THE ALERT MODE 10
- ALARM SOUND IN BATTERY MODE 11
- POWERING OFF 11
- CAUTION 13
- MAINTENANCE TOOL 14
- CONNECTING TO WiFi 17
- MASS STORAGE MODE 18
- UPDATE 19
- QBiC S X1/D1 20
- IMPORTANT 20
- SAFEGUARDS 20
- IMPORTANT SAFEGUARDS 21
- WARNING 23
- BEFORE YOU USE 27
- DISCLAIMERS 31
- 6X1MWGF02 R0-Xxx 32
- 2013/01 32
Summary of Contents
START-UP GUIDEQBiC S X1 / D1 ©2013 Copyright ELMO Co., Ltd. All rights reserved. Any names, company names and pr
10 STARTING THE ALERT MODE This product supports “Alert mode” which continuously records video and save it to microSD card and “Maintenance mode” wh
11 ALARM SOUND IN BATTERY MODE This product will sound to inform the remaining battery level. A long beep sound occurs when the product is working i
12 START ALERT MODE (SHIFTING TO ALERT MODE) Press “Alert/Cancel alert REC switch” in “Maintenance mode” and shift the mode to the “Alert mode”. When
13 STOP ALERTING (SHIFTING TO MAINTENANCE MODE) Press and hold “Alert/Cancel Alert REC switch” (over 2 seconds) and cancel the “Alert mode”. The cam
14 MAINTENANCE TOOL ABOUT QBiC S MAINTENANCE TOOL QBiC S Maintenance Tool is a tool to configure detailed settings of the camera. Install the tool
15 GET AND INSTALL THE QBiC S MAINTENANCE TOOL Go to QBiC Product Website to download the QBiC S Maintenance Tool. 1. Log on as an administrator a
16 CONNECT THIS PRODUCT TO PC VIAUSB CABLE 1. Boot the QBiC S Maintenance Tool. From start menu in your PC, click “Start” ”All Programs” ”ELMO””
17 CONNECTING TO WiFi By using WiFi the camera can be connected to a network and movies can be displayed to other devices. The configuration differs
18 MASS STORAGE MODE This product can be used as a storage device. Using this mode, you can retrieve the data stored in the micro SD card. TURNING
19 UPDATE This product and the QBiC application software will be updated from time to time to improve their performance and functionality. For the
2 TABLE OF CONTENTS BEFORE YOU USE ... 3 QBiC S
20 QBiC S X1/D1 IMPORTANT SAFEGUARDS Please read this IMPORTANT SAFEGUARDS carefully before using the product and keep it for future referenc
21 IMPORTANT SAFEGUARDS Please read all precautions and warnings before starting to use. The information is provided to ensure proper operation of t
22 DANGER The battery used for this product is a rechargeable lithium-ion battery. This battery is susceptible to temperature and humidity. This b
23 WARNING Do not unscrew or unclench the case. ● There are some points which have extremely high voltage inside the product. They could cause sm
24 WARNING This product is waterproof. However, we do not guarantee its waterproof ability in all conditions. The supplied AC adapter is not water
25 CAUTION Prior to using this product on a commercial airplane or in a hospital, check with authorized personnel. ● This product will emit elect
26 Do not put this product in contact with your skin for an extended period. Pay close attention if your skin is sensitive. In case skin irritatio
27 BEFORE YOU USE ELMO shall not be liable for malfunction and/or breakdown followed by using this product and the AC adapter under excessive con
28 - Near industrial, scientific, and medical devices, such as a pacemaker - Near in-plant radio station for mobile equipment identifier (license r
29 temperature is stable (10°-30° Celsius or 50°-86° Fahrenheit is ideal). Start to use again after condensation is completely gone. If this product
3 BEFORE YOU USE Thank you for purchasing QBiC S X1/D1. This guide is intended to describe the usage and settings of the product for the purpose of
30 Performance and lifetime of built-in battery ● A rechargeable lithium ion battery is used in this product. ● The battery has its own life spa
31 DISCLAIMERS The contents of this document are subject to change without notice. The latest version can be obtained from the following website:
32 ATTENTION ● This product is designed to be used in domestic environment. However, if this product is used in close proximity to a radio or tele
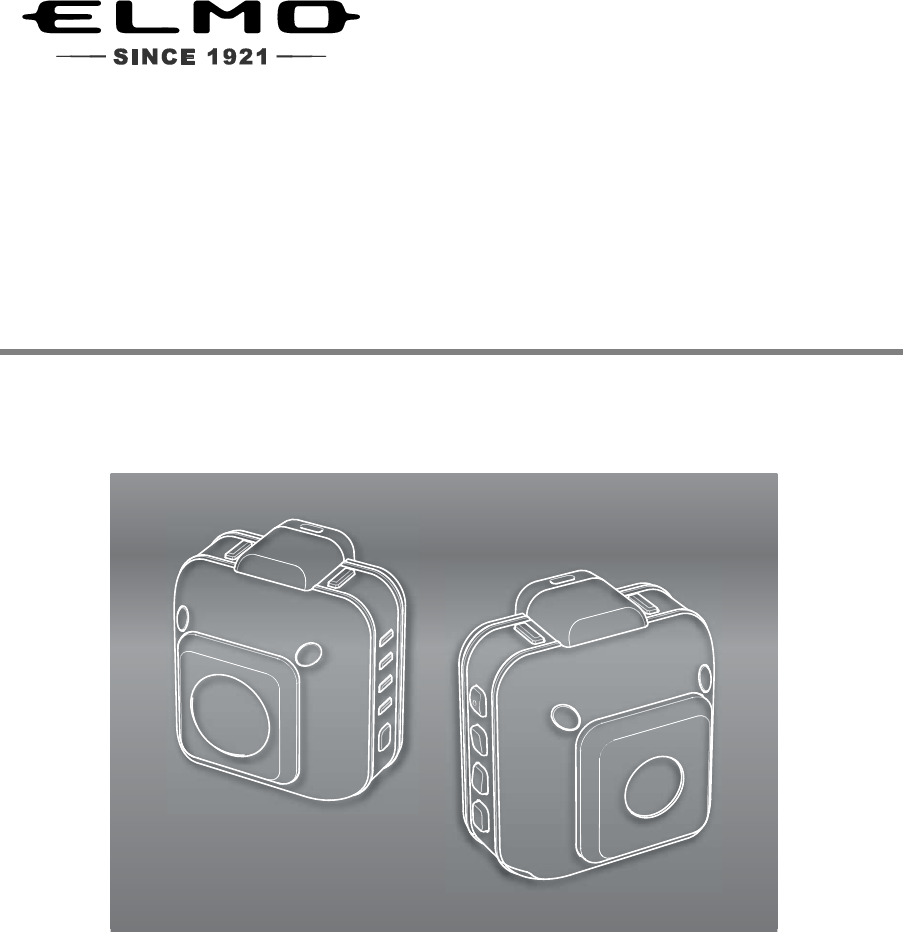
5 THE NAME OF EACH PART QBiC S FRONT QBiC S BACK The specification in the above applies to both X1 & D1 NOTICE Microphon
6 PREPARATIONS INSTALLATION OF BATTERY PACK/CHARGING *Battery pack is not inserted in the product. Battery is not fully charged at the time of purc
7 INSERTING microSD CARD AND WiFi CARD 1. Insert the supplied micro SD card in the WiFi card. *When the WiFi card is write-protected, recording
8 4. Close the back cover and lock it. Insert a flat object such as a coin in ① and turn it to the direction ② indicated with an arrow. CA
9 2. When this product is used with AC adapter, (①) remove USB cover (②) install USB packing seal to the micro USB port (③) plug the USB cable (with
Related products and manuals for Bridge cameras Elmo QBiC S X1
 (16 pages)
(10 pages)
(16 pages)
(10 pages)
© 2020, manymanuals.com. All rights reserved. | 0.638 s |
 Manymanuals.com
 Manymanuals.de
 Manymanuals.fr
 Manymanuals.it
 Manymanuals.pl
 Manymanuals.cz
 Manymanuals.es
 Manymanuals-pt.com
Comments to this Manuals