Elmo ESD-370 User Manual
Browse online or download User Manual for Security cameras Elmo ESD-370. Elmo ESD-370 User's Manual
- Page / 44
- Table of contents
- BOOKMARKS
- ESD-370 1
- Copyright 2
- Important Information 2
- Cautions 3
- Content 4
- 1. Overview 6
- 1.1 Product Features 7
- 1.2 Product Application 8
- 2.1 Package Content 9
- 2.2 Switch Definition 10
- 2.3 RS-485 Setting 10
- 2.4 Dome ID Setting 11
- 2.5 Dome Control Protocol 11
- Decimal single digit 12
- 2.7 Alarm Pin Definition 14
- 2.8 RS-485 Connector 14
- 3.1 OSD Display Format 15
- 3.2 OSD Menu Tree 16
- 3.3 Configuration Menu 19
- 3.3.2 BACKLIGHT 20
- 3.3.3 FOCUS 20
- 3.3.4 APERTURE 20
- 3.3.5 AE MODE 21
- 3.3.6 WBC MODE 22
- 3.3.7 ID DISPLAY 22
- 3.3.8 SETUP MENU 23
- ANGLE ADJUSTER 25
- ADJUST M 25
- ANGLE 100 DEG 25
- EXIT+SET YES 25
- 3.3.10 TITLE DISPLAY 26
- 3.3.11 TITLE SETTING 26
- 3.3.12 ALARM SETTING 27
- 3.3.13 HOME SETTING 28
- 3.3.14 SEQUENCE 30
- 3.3.15 AUTOPAN 31
- 3.3.16 CRUISE 33
- IR FUNCTION 34
- THRESHOLD LOW 34
- IR COLOR COLOR 34
- EXIT YES 34
- 3.3.20 PRIVACY 35
- 3.3.21 TIME FUNCTION 37
- 3.3.22 SCHEDULE FUNCTION 38
- 3.3.23 EXIT OSD 39
- OSD Menu Notes 42
Summary of Contents
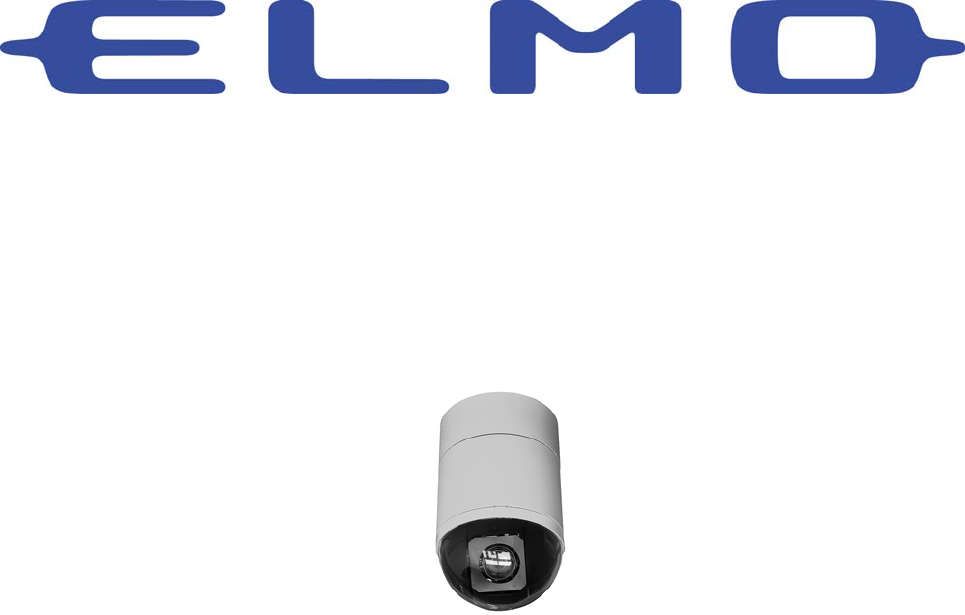
Integrated High Speed Dome Camera ESD-370 Indoor Dome User’s Manual
User’s Manual 2.2 Switch Definition First of all, configuring the dome ID and communication protocol is required befo
User’s Manual Half-duplex Full-duplex 2.4 Dome ID Setting Use the switch to change your speed dome ID by turning the arrow to t
User’s Manual 07 ELMO 9600 08 AD422 4800 09 DM P 9600 11 Pelco D 4800 12 Pelco D 9600 13 Pelco P 2400 14 Pelco P
User’s Manual 7 T+ Yellow 8 R- Orange 9 T- Green 10 R+ Brown 1007 24AWG 11~20 Alarm Pin (Not wired) 21 VGND 22 Video 12
User’s Manual 2.7 Alarm Pin Definition The alarm pins are serviceable for connecting alarm in- and output devices. F
User’s Manual 3. Operation and Configuration 3.1 OSD Display Format The information shown on the screen are described in terms of
User’s Manual 3.2 OSD Menu Tree The OSD setup menu structure of S and DR models are listed below. The star symbol in
User’s Manual Item Layer 1 Layer 2 Layer 3 Default PRESET POINT SEQUENCE LINE AUTOPAN LINE CRUISE LINE <001> ~ <256&g
User’s Manual Item Layer 1 Layer 2 Layer 3 Default MASK CLEAR+RESET <01> ~< 08> 01 MASK DSIPLAY <
User’s Manual 3.3 Configuration Menu The detailed functions and parameter settings of your high speed dome can be set by the OSD (
User’s Manual Notice The information given in this manual was current when published. The company reserves the right
User’s Manual camera parameters. 3.3.2 BACKLIGHT The Backlight compensation function prevents the center object fro
User’s Manual function, users can adjust the enhancement of the edges of objects in the picture. When shooting text, this function
User’s Manual depends on the AGC circuit. • AGC With this option, the AGC priority is higher than SHUTTER and IRIS
User’s Manual • ON Display the ID address of the selected dome on the right bottom of the monitor screen. • OFF Hide the ID add
User’s Manual IMAGE represents digital IMAGE FLIP, enables users to keep tracking object seamlessly and no delay occu
User’s Manual resolution of the zoomed image quality. On the other hand, Digital zoom takes a portion of image and expands that im
User’s Manual 3.3.10 TITLE DISPLAY Users are allowed to name a certain view area and display its title for easy recog
User’s Manual <DELETE> and press <ENTER> to delete the selected character. STEP7: When the setting is completed, mov
User’s Manual • ALARM ACTION Select one of these modes that choose a kind of actions that should be executed when an
User’s Manual stops or missing events. HOME SETTING HOME FUNCTION OFF SELECT MODE PRESETPRESET POINT 001 RETURN TIME 0
User’s Manual Cautions • Handle the camera carefully Do not abuse the camera. Avoid striking, shaking, etc. The camera could be d
User’s Manual manually by selecting this item. • EXIT Exit the HOME SETTING menu. 3.3.14 SEQUENCE The function exe
User’s Manual Speed 4 45 30 Speed 5 55 40 Speed 6 65 50 Speed 7 75 58 Speed 8 185 185 Speed 9 205 210 Speed 10
User’s Manual as endpoint. • START POINT Follow the description to set the start position of the AUTOPAN path. 1.
User’s Manual Speed 3 35 Speed 4 45 • RUN AUTOPAN After the setting is completed, select this item to manually execute the A
User’s Manual 3.3.17 IR FUNCTION (Removable IR Cut) With the IR cut filter, the dome can still catch clear image at
User’s Manual function is enabled, because the WDR function has better effect than the Backlight compensation. WDR SETTING WDR SW
User’s Manual PRIVACY PRIVACY SWITCH ON SHADE GRAY SET MASK 01 MASK CLEAR+RESET 01 MASK DISPLAY FIRST E
User’s Manual • MASK CLEAR+RESET The item is used to clear the mask settings of the selected privacy mask. Use LEFT/RIGHT directi
User’s Manual • HOUR / MINUTE The items are for setting up the system time. • EXIT+SAVE Exit this page. 3.3.22 SC
User’s Manual Enable the Cruise function for the selected schedule. IR FUNCTION Select <AUTO> or <ON> to enable the fu
User’s Manual Content 1. Overview...
User’s Manual Appendix A: Technical Specification All specifications are subject to change without notice. Items
User’s Manual resolutions. Standard Resolution: 768 steps/circle. High Resolution: 1600 steps/circle GENERAL Environment
User’s Manual OSD Menu Notes The following OSD menu tables are provided for users to record the dome settings. Item
User’s Manual Item Layer 1 Layer 2 Layer 3 Note SEQUENCE POINT <01> ~ <32> PRESET POS. <001> ~ <255&g
ELMO USA Corp. 1478 Old Country Rd. Plainview, NY 11803
User’s Manual 3.3.13 HOME SETTING ... 27
User’s Manual 1. Overview ESD-370 is a new subcompact integrated high speed dome camera designed to deliver superb
User’s Manual alarm is triggered. Large set of built-in protocols provide connectivity to other surveillance systems. The built
User’s Manual • AD/AD-422 • Chiper Privacy Mask for Privacy Protection • Up to 24 privacy zones of camera view prog
User’s Manual 2. Connecting the High Speed Dome Please refer to the following sections to connect, set and operate the dome camer
Related products and manuals for Security cameras Elmo ESD-370
 (16 pages)
(36 pages)
(16 pages)
(36 pages)
 (40 pages)
(28 pages)
(117 pages)
(40 pages)
(28 pages)
(117 pages)
© 2020, manymanuals.com. All rights reserved. | 1.781 s |
 Manymanuals.com
 Manymanuals.de
 Manymanuals.fr
 Manymanuals.it
 Manymanuals.pl
 Manymanuals.cz
 Manymanuals.es
 Manymanuals-pt.com
Comments to this Manuals